It’s amazing how time flies so swiftly. My son Isaiah is growing up so fast and he is now on his fourth voyage around the calendar. Because he is now learning to set sail on his own, I think it is just timely to do a nautical-theme party for his fourth birthday.
Personally, his birthdays are my favorite time every year because I get to wear my event organizer’s hat and I get to be creative through arts and crafts. Before I get to the nitty-gritty details of his nautical-themed party, here’s a throwback on the parties I’ve organized for Isaiah:
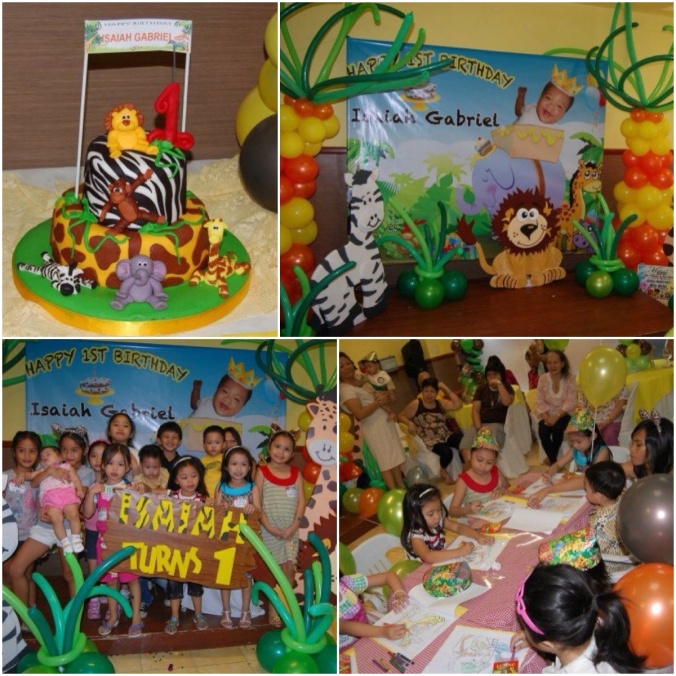
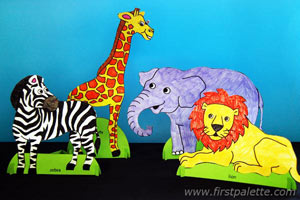
Safari-themed 1st birthday party (click to see post)

Train-themed 3rd birthday party
The only time, I didn’t get to wear my organizer’s hat was on his second birthday since we opted to stay in a resort to have a quality family bonding. If you also have noticed, his past birthday parties were both non-character themed. I prefer it that way because I am not to keen on using cartoon characters or superheroes as they are too common already. Unless my son will specifically tell me he wants a Superman or a Mickey Mouse themed party, it will be mama’s choice as of the moment. Lol! So this year I chose the nautical-theme.
The Venue
Since Isaiah’s favorite activity is swimming, I thought of organizing a pool party with a nautical-theme. I initially inquired with Villa Teresita in Talisay and Tubod Flowing Resort in Minglanilla (a few blocks from my house) but gosh their rates are costly. You need to pay for the venue rental, catering and entrance per head if you want to use the pool which is not for exclusive use too. Budget wise, I almost gave up on the idea of a pool party. But after searching painstakingly for an affordable pool venue over the internet and Cebuano forums, I’ve finally found the perfect venue – The Metro Park Hotel.
Aside from function rooms, this budget-hotel also offers a poolside venue which can be used exclusively for four hours complete with sound system. The best part is you do not have to pay for venue rental nor entrance fees. However, the catering has to come from them. You can choose between the P260 per pax or the P360 per pax packages. Not bad eh?! They also have the complete kiddie party package good for 50 pax which includes food, a clown host, loot bags, invitations, game prizes and simple venue decorations. I took this package but I told them that I don’t need their loot bags and invitations because I have my own and they do not have a nautical-themed items in their party inventory. So what they did, they exchanged it for more game prizes. They also offer add-ons such as lechon and food cart which I had availed too. Don’t be fooled by the modesty of this hotel because their events board are lined up with parties due to their unique selling point: budget-friendly.
Pros:
- Affordable.
- The staff has excellent customer service. Tetchie (the events manager) and Maricor are patient with my never ending inquiries and they are very accommodating.
- Poolside venue is covered so you don’t need to worry if the weather is bad.
- Exclusive use of the pool.
- The lechon was very tasty.
Cons:
- Taste of food is not outstanding. It could be improved.
- Some parts of the hotel needs tidying up especially the parking lot.


The Balloon Decoration
Since Metro Park Hotel’s balloon decoration is simple and only limited to a few stick balloons, I contacted Cebu Balloons for my additional balloon requirements. I only transacted with them via email but I was impressed by how they handled my email inquiries. They were quick to respond to my queries and they were able to materialize what I wanted for my ground balloons and pillars. I ordered two 5ft balloon columns, two dozen balloon on stick and two balloon ground decors. My goal was to spruce up the venue without being over the top and exceeding my budget. I definitely achieved my goal thanks to Mark and Lisa, the couple behind Cebu Balloons.

The Candy and Dessert Buffet


Now this is my labor of love. Because I’m so busy in between, it took me two months to conceptualize and prepare for it. The setup might look expensive to you but it didn’t cost me a lot because most of them are DIYs. I mostly spent researching for inspirations over the internet and I also looked for free nautical printables from party blogs which I can just print at home. I also have a graphic designer sister so I asked for her help especially on the beautiful tarpaulin.
One of my favorite elements of the set-up is the birthday cake. The cake was also a labor of love and was baked by my youngest sister Chesca who is a pastry chef.

The design of the cake was inspired by a nautical cake I saw on the internet. Talk about a cake design hack. LOL! I tell you Google is my bestfriend when it comes to sourcing out inspiration for my son’s parties. Learn how to create the paper boat topper here.

The red velvet cupcakes with cream cheese frosting were also baked by my sister Chesca. I bought the 2 cupcake stands in Carbon Market for P200 a piece. Great bargain eh!


Personalized Fibisco Choco Crunchies

Personalized jelly beans mini bottle
I’m giving you for free the sails I created and used for the Fudgee bars. You can download the sail printable here. Moreover, the printables I used for this party can be downloaded for free at www.ianandlola.com.

Fudgee bar boats
I got these cute glass containers at Gaisano Tabunok for less than P130 a piece.

My DIY lighthouse on display. Learn how to create a DIY lighthouse here.

My DIY wall art decors on display. All of them were downloaded and printed from the internet. You can download the ‘Let your dreams set sail’ art for free here.

For the giveaways, I got these cute tin buckets and its contents at 168 Mall in Divisoria with the help of my ninang who is based in Luzon. The shop’s name is Trophy & Gift Shop (stall no. 2HB 05-07-09) that sells birthday and party needs. I then placed a thank you sticker label to personalize it.

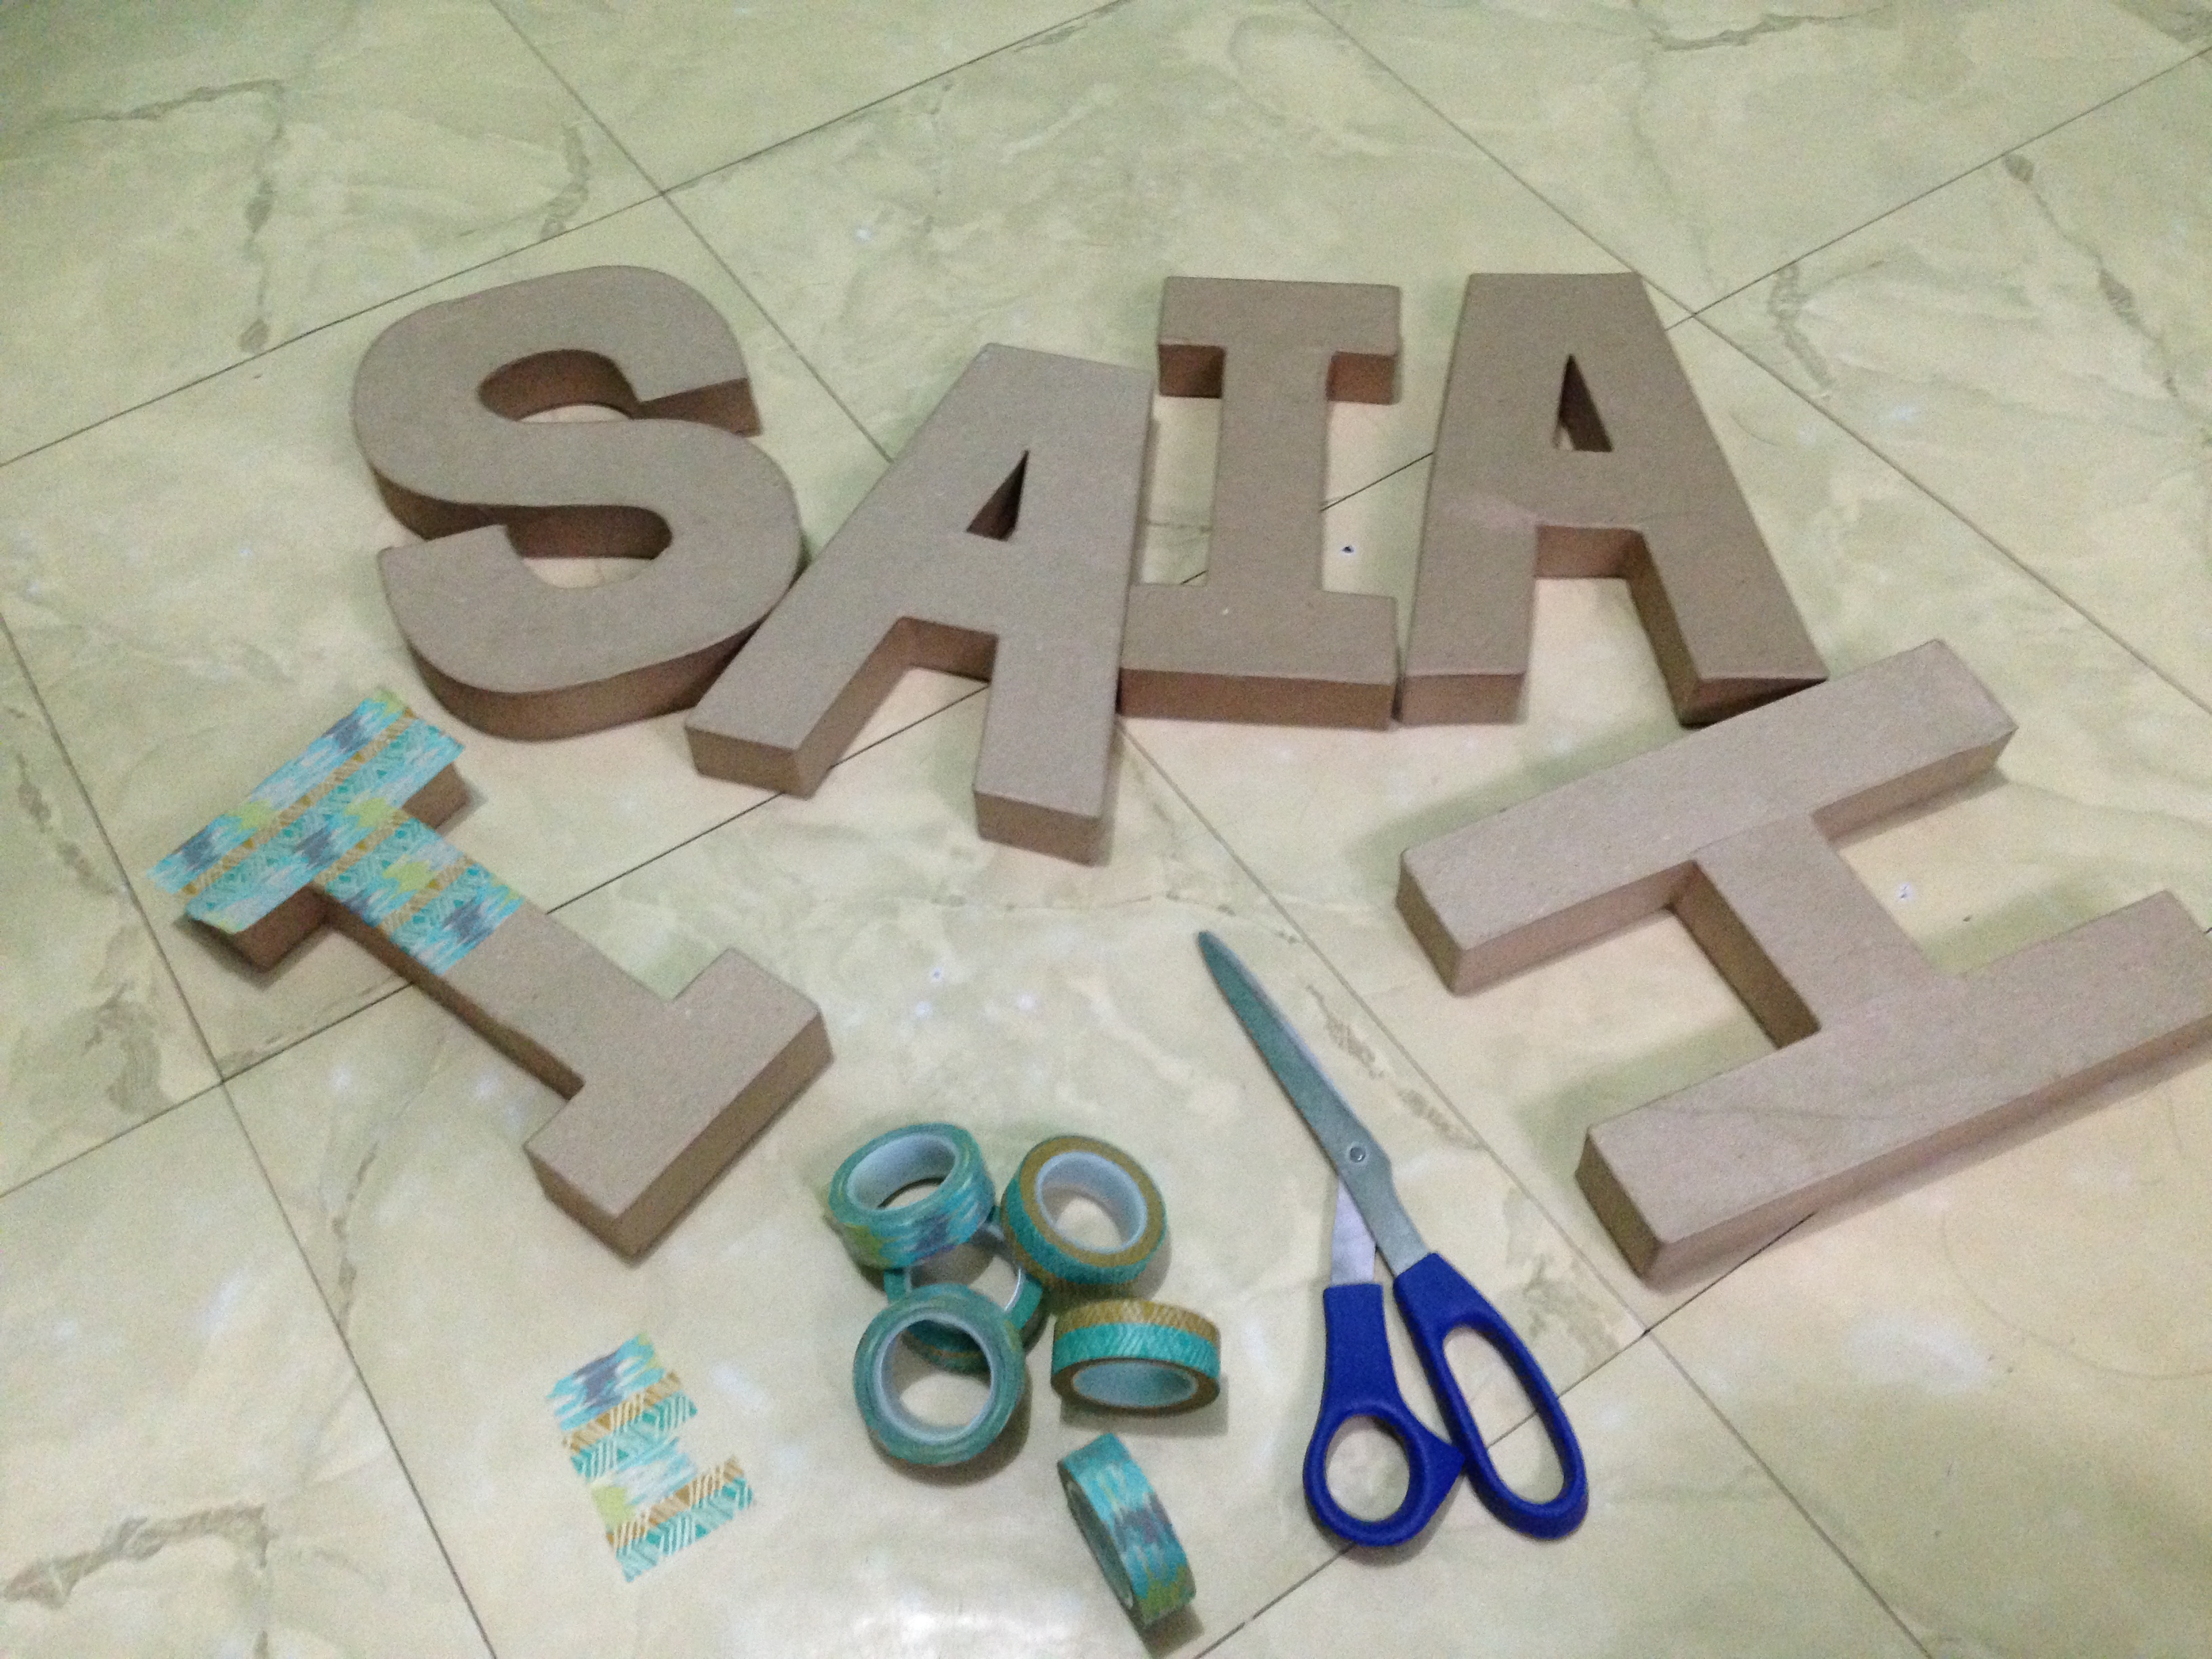
My another favorite element in the set-up is the decorative letters and the paper mache life ring and anchor. I bought them from an Instagram seller based in Manila and then I just covered the letters with washi tapes and then hand painted the life ring and anchor by myself. You can learn how to cover the letters with washi tape here.

Lastly, a party will not be complete without capturing photos. Instead of renting a photo booth, I thought of creating a lifesize Instagram frame prop. I got this idea from the internet too. I just asked my graphic designer sister Xan to layout a lifesize Instagram for me (3x4ft in size) and then went to printing shop to have it printed in tarpaulin. Then, I stuck it onto a foam board and viola!

Since everyone is into social media already, it was a big hit with everyone.

In behalf of my husband and family, I would like to thank everyone who joined us in celebrating the life of my son, Isaiah. Thanks also to April Mae Valencia-Carillo of First of April (Event and Photo Styling) for lending me a few nautical-themed stuff. Most of all, a big thanks to our Heavenly Father, the Giver of life.

The birthday boy – Captain Isaiah